

Sealminer A4 Ultra Hydro
Bitcoin & Bitcoin Cash ASIC Miner
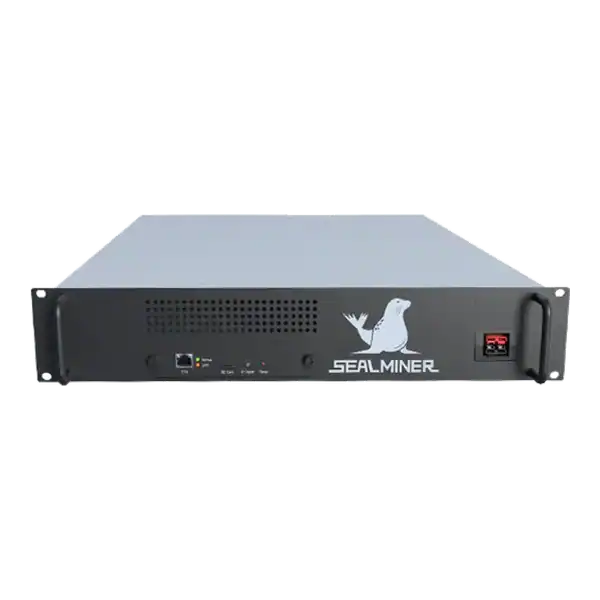

886TH
HASHRATE
9.45W/TH
EFFICIENCY
8373W
POWER
£884.60
EST. MONTHLY
NO PAYBACK
EST. ROI
Bitaxe Gamma thermal validation: Identify the exact Gamma board and its documented power input. Check the UK records and evidence to retain.
Bitaxe Gamma thermal validation is an acceptance test for an already configured assembled unit. It does not repeat the existing Gamma 601 setup guide. The test verifies board identity, the exact documented power input, seller assembly, heatsink contact, fan control, temperature, accepted work and stability over 48 hours at a supported stock profile before the buyer considers tuning or unattended operation.
Bitaxe Gamma thermal validation now has a clear role beside, rather than against, the Gamma 601 setup guide.
A miner is checking Bitaxe Gamma thermal validation. This article begins after a Gamma-class unit can boot and submit work. The existing Bitaxe Gamma 601 guide explains power, AxeOS, pools and solo configuration for that exact hardware.
The existing Bitaxe Gamma 601 guide explains power, AxeOS, pools and solo configuration for that exact hardware. This article begins after a Gamma-class unit can boot and submit work. Its search intent is product acceptance and thermal validation.
Open-source board designs can be assembled by different sellers with different heatsinks, fans, power accessories and enclosures. A correct upstream design does not prove that every completed product has identical thermal workmanship.
The acceptance owner should have the invoice, board identity, seller specification, warranty and stated stock range. Community overclock results are not the pass criterion.
Keep the original pool and network configuration stable during the test. Changing pool, firmware and cooling together would make the cause of any failure unclear.

Photograph the board marking, ASIC, controller, serial or seller label, firmware build, power connector and supplied accessories. Match them with the relevant upstream and seller documentation.
Bitaxe revisions do not necessarily use the same power input. For example, the existing Gamma 601 guide follows its documented 5V barrel-input arrangement. Do not replace that with a generic USB-C assumption. Use only the exact board requirement.
Check supply voltage, continuous current capability, polarity where relevant, cable and connector condition. A supply that boots the screen can still be unsuitable under sustained ASIC load.
Use a suitable external meter without exposing live conductors. Isolate immediately for abnormal connector heat, discolouration, looseness, odour, arcing or repeated protection operation.
| Area | Check with power isolated | Acceptance evidence |
|---|---|---|
| Heatsink | Correct position and secure mounting | No movement or visible gap |
| Thermal interface | Seller-approved contact and coverage | Assembly record or non-invasive inspection |
| Fan | Correct type, connector and free movement | Recognised and controllable |
| Board | No debris, damage or conductive contact | Clear photographs |
| Enclosure | Air path and safe protection | Intake and exhaust unobstructed |
| Power connector | Fit, strain and condition | Stable connection without heat |
Do not remove a heatsink or disturb thermal material merely to satisfy a visual checklist if that would damage the board or warranty. Escalate uncertain assembly to the seller.
Confirm that fan airflow crosses the intended heatsink path and hot exhaust does not recirculate directly into the intake. Keep the device away from fabric, liquids and combustible clutter.
Use the seller-supported stock frequency and voltage with the verified firmware. Record room or intake temperature, reported chip temperature, fan speed, local hashrate, pool accepted hashrate, rejects and wall power.
Allow the assembly to reach steady temperature. A cold-start reading can look excellent for several minutes while the heatsink and enclosure are still absorbing heat.
Repeat the observation at several room conditions likely in normal use. A unit accepted in a cool morning needs a warm-weather operating rule rather than an assumption that the same margin remains.
Compare units only under matched conditions. A different fan curve, board revision, room temperature or share window can explain a result without proving superior assembly.
A 48-hour run is a practical acceptance sample, not a guarantee of lifetime reliability. Seller and legal reporting periods remain governed by their terms and applicable rights.
Do not leave the first run unattended until power and cooling behaviour has been observed and the household has a safe isolation and alert response.
A stable temperature below the seller’s approved limit is useful only when the fan, room and workload are documented. A high constant fan rate can show that little cooling margin remains.
Temperature oscillation can follow fan control, Wi-Fi reconnects or variable workload. Sudden rises with unchanged room conditions can indicate airflow obstruction, fan or heatsink problems.
Do not lower fan minimums or suppress thermal protection to improve sound. If noise is unacceptable, use a supported lower-power profile after acceptance, relocate the device or choose another product.
If two sensors or dashboards disagree materially, retain both readings and seek model-specific support. Do not choose the lower number because it is convenient.
Repeated resets that occur only as the chip warms can indicate cooling or power margin. But the symptom alone does not prove which. Return to stock, compare supply and temperatures and change one approved item at a time.
Stable local hashrate with missing accepted shares is more likely to require network, endpoint or worker investigation. It should not be corrected by tightening a heatsink.
Falling local hashrate with rising temperature points towards thermal limiting or hardware instability. Preserve logs and stop before aggressive tuning causes more stress.
A wrong wallet or pool route is a configuration and security incident, not a thermal failure. Verify payout and worker identity independently.
The exact unit remains mechanically secure, power and connectors behave normally, temperatures and fan duty are stable, accepted work matches the supported range and no unexplained resets persist.
Save the measured baseline, photographs, firmware and pool export with the asset record.
Stop for fan failure, abnormal connector heat, damaged assembly, rapid uncontrolled temperature, repeated stock resets or performance outside the written range.
Use the seller’s evidence process before opening or modifying the unit. Tuning is a separate later experiment and must not be used to disguise a stock acceptance failure.
Bitaxe Gamma thermal validation now has a clear role beside, rather than against, the Gamma 601 setup guide.
The existing Bitaxe Gamma 601 guide explains power, AxeOS, pools and solo configuration for that exact hardware.
Photograph the board marking, ASIC, controller, serial or seller label, firmware build, power connector and supplied accessories.
Do not remove a heatsink or disturb thermal material merely to satisfy a visual checklist if that would damage the board or warranty.
Bitaxe Gamma thermal validation now has a clear role beside, rather than against, the Gamma 601 setup guide. It tests the completed product at stock settings, preserves exact power and assembly evidence and separates thermal faults from pool and network faults. Accept only stable measured behaviour, then treat any tuning as a new controlled experiment.
Use The Mining Shop UK home-mining, safety and repair resources if an assembled Gamma unit fails its stock acceptance test.
Identify the exact Gamma board and its documented power input. Do not assume one connector or supply applies to every revision or seller assembly. Inspect heatsink, fan, mounting, enclosure and connectors with power isolated, then record a stock thermal baseline under representative room conditions.
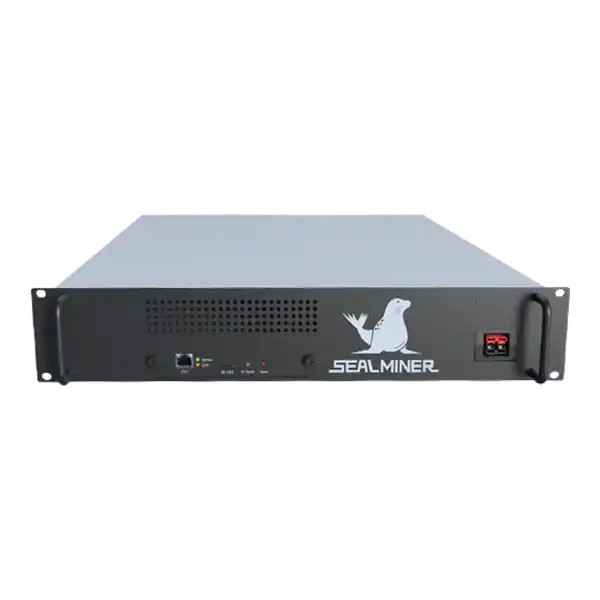

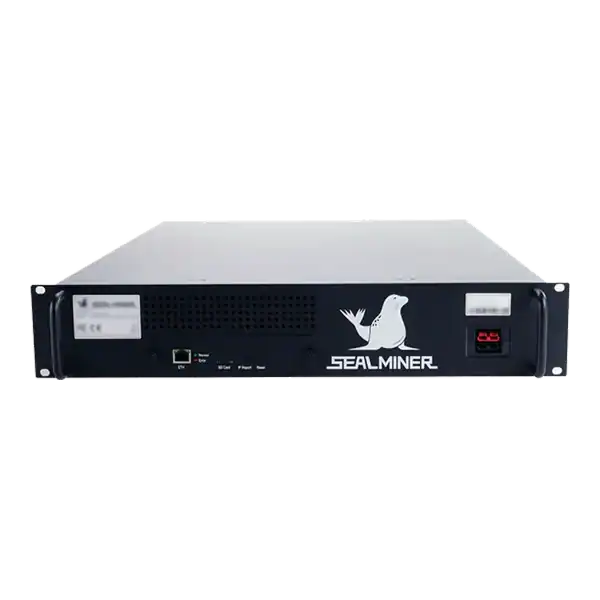
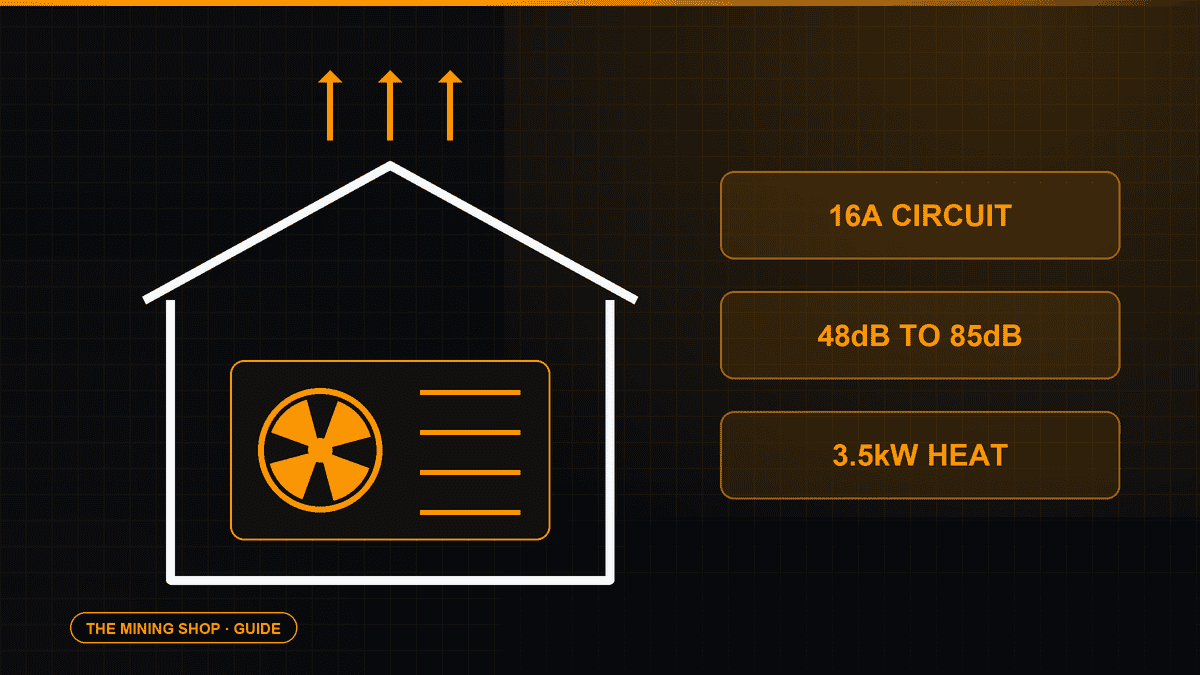
Home Bitcoin mining: A home ASIC needs a suitable dedicated circuit, competent electrical assessment and a safe route for continuous heat and noise.
ASIC fleet management software: Create an exact model-by-function matrix because reading telemetry, changing pools, tuning and updating firmware can have.
Complete an IceRiver AE0 setup with the correct 19 to 20 V supply, Ethernet, private interface, Aleo pool, accepted-proof checks and official firmware controls.
Join the ASIC Mining Discussion
Members can read and join the discussion
Log in to read comments from other miners. Create a free account if you would like to ask a question or share your experience.
Membership helps us protect the discussion from spam and keep answers useful.