
Pre-order
Overall ranking

Equihash
·
ZEC
Overall rank#1of 100AvailableAll: #2 / 831
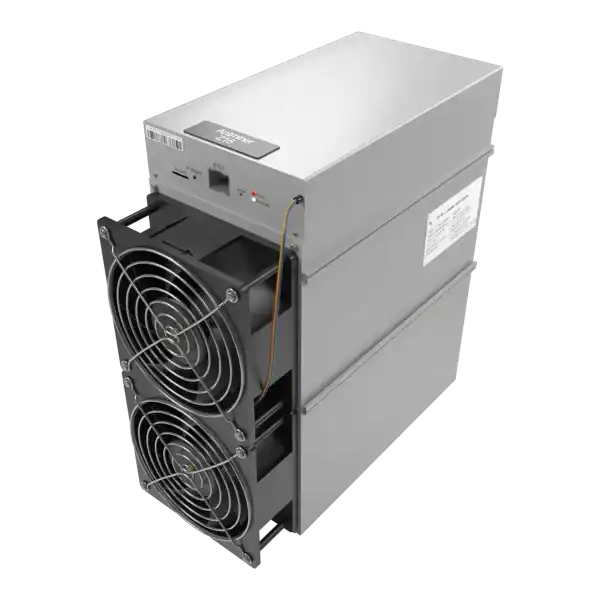

Pre-OrderFree Shipping
Hashrate
525KSOL
Efficiency
4.73W/KSOL
Power
2483W
Earns/kWh
42.0p
Use Bitaxe first-hour diagnostics to isolate power, boot, Wi-Fi, pool, temperature and accepted-share faults without random firmware or tuning changes.
Bitaxe first-hour diagnostics begins after the installation guide has been followed. Its purpose is to isolate one failed condition without rebuilding the whole setup: no boot, no Wi-Fi, no AxeOS access, no accepted shares, unstable temperature or repeated resets.
Keep the device at a supported stock profile, preserve logs and change one variable at a time so the remedy is evidenced rather than guessed.
Bitaxe first-hour diagnostics is effective when it preserves the failure and tests the chain in order. Confirm power and boot, local network, pool authorisation, accepted work and cooling at stock settings.
A miner is checking Bitaxe first-hour diagnostics. One evidenced correction is safer and faster than random resetting, reflashing and tuning, and it produces a useful seller or repair record if escalation is required.
Write the exact board, firmware, power supply, cable, fan, router network, pool endpoint and time. Photograph the screen or LEDs and save AxeOS, router and pool messages where available.
Classify the first failed stage: no power, no boot, no local address, no interface, no pool connection, no accepted shares, thermal instability or reset. Later symptoms can be consequences of the earlier failure.
Do not factory-reset or reflash immediately. Those actions can erase configuration and evidence while introducing a second compatibility risk.
If the unit was supplied assembled, compare the symptom with the seller’s fault and return procedure before opening, soldering or replacing parts that can affect warranty.

| Symptom | First evidence | Safe next check |
|---|---|---|
| No lights or display | Supply output and connector fit | Approved supply and known cable |
| Boot loop | Reset timing and connector heat | Stable stock power and board support |
| Fan stopped | Fan connection and AxeOS report | Power off and inspect compatible fan |
| Hot connector | Visual and safe temperature observation | Isolate immediately |
| Firmware screen error | Exact build and board | Verified recovery instructions |
| Random resets | Power, heat and logs | Stock profile, supply and cooling |
USB-C shape does not prove that a supply and cable provide the required sustained profile. Use the exact seller or project requirement and remove questionable adapters.
Do not probe exposed live conductors. Isolate and seek competent help where the supply, board or connector is damaged or abnormally hot.
Confirm that the current board and AxeOS build use the intended 2.4GHz network and that the credentials were entered correctly. Check the router client list for the device MAC and assigned address.
A successful Wi-Fi association with no local interface can be a network-isolation or address issue. Administer from the permitted device or rule rather than moving the miner onto the unrestricted trusted LAN.
If onboarding restarts, verify signal, password, router compatibility and documented reset sequence. Keep the device near the access point for one controlled test before changing firmware.
Do not forward a router port or place the miner in a DMZ to solve local access. Those changes expose the interface without fixing the root cause.
Copy the current SHA-256 endpoint, port and worker format from the pool’s official setup page. Confirm DNS, time and outbound connectivity from the isolated network.
An authorised connection with no accepted shares can need more time for share difficulty and probability. But a persistent invalid or low-difficulty response requires exact protocol, firmware and target checks.
Compare local hashrate with the intended worker in the pool. A healthy local rate on an old backup wallet is not a successful first run.
Test one known compatible pool route before changing several variables. Preserve the original approved endpoint and payout record.
Return frequency and voltage to supported stock values. Confirm heatsink contact, fan operation, clear intake, unobstructed exhaust and ordinary room temperature.
A chip temperature rising rapidly with little airflow is a stop condition. Do not cover the alarm or force a higher fan setting as a substitute for checking the physical cooling assembly.
Repeated resets under load can arise from power delivery, heat, firmware or board faults. Test stock power and cooling together, then alter only the suspected component.
Allow the board to reach stable temperature before judging accepted hashrate. A brief cold-start peak is not the baseline.
Use recovery only when the symptom and official instructions justify it. Match the exact board and controller and get the image from a verified project or seller source.
Record current version, source and any checksum, back up settings where possible and keep stable power throughout the documented write process.
After recovery, treat pool, credentials and network as untrusted defaults until verified. Do not restore an old configuration without checking its wallet and endpoints.
If recovery repeatedly fails, stop before damaging flash storage or board components and use the seller or a competent specialist.
Bitaxe first-hour diagnostics is effective when it preserves the failure and tests the chain in order.
Write the exact board, firmware, power supply, cable, fan, router network, pool endpoint and time.
USB-C shape does not prove that a supply and cable provide the required sustained profile.
Confirm that the current board and AxeOS build use the intended 2.4GHz network and that the credentials were entered correctly.
Bitaxe first-hour diagnostics is effective when it preserves the failure and tests the chain in order. Confirm power and boot, local network, pool authorisation, accepted work and cooling at stock settings.
One evidenced correction is safer and faster than random resetting, reflashing and tuning, and it produces a useful seller or repair record if escalation is required. When the fault closes, add the symptom and remedy to a small local knowledge base with the exact board and firmware. Do not generalise it to every Bitaxe.
A reproducible model-specific record shortens the next diagnosis without turning one successful fix into unsafe universal advice.
Use The Mining Shop UK home-mining and repair guidance if the first-hour test identifies a hardware or site fault.
Start from the observed failure and preserve board, firmware, power, network and pool evidence before resets or reflashing. Return to a supported stock profile and test one path at a time: power, boot, local network, DNS, pool authorisation, accepted work and cooling.
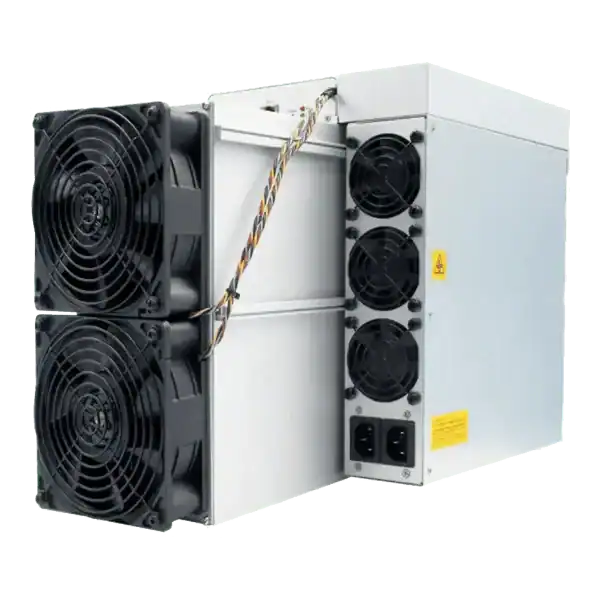
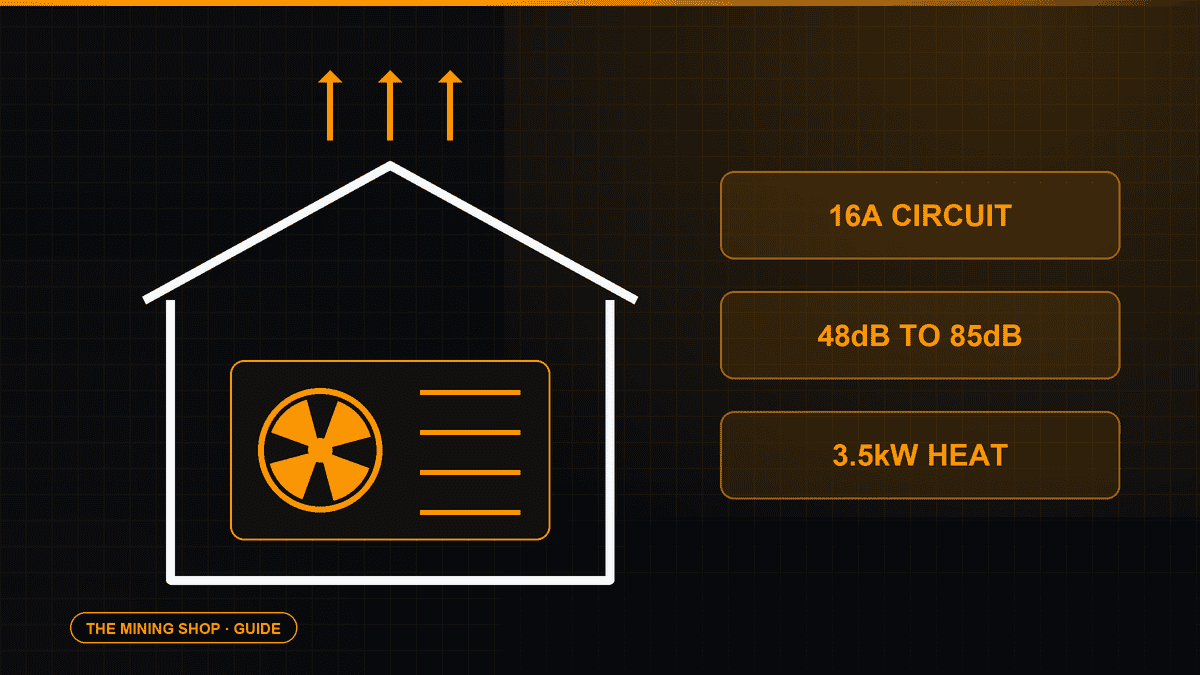
Home Bitcoin mining: A home ASIC needs a suitable dedicated circuit, competent electrical assessment and a safe route for continuous heat and noise.
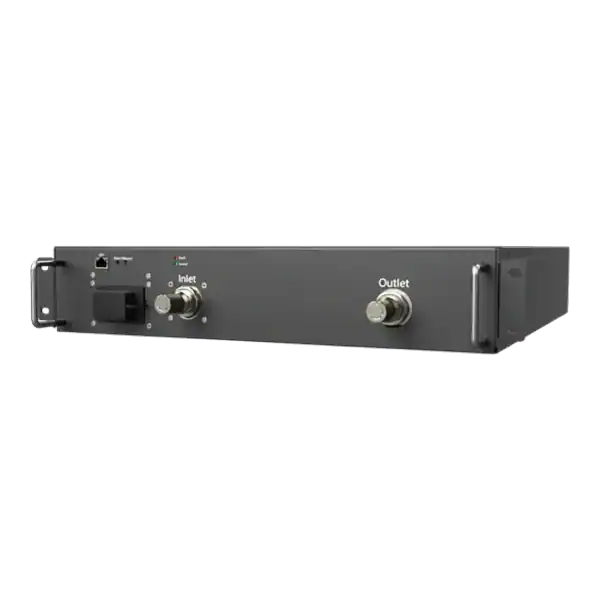
ASIC fleet management software: Create an exact model-by-function matrix because reading telemetry, changing pools, tuning and updating firmware can have.
Complete an IceRiver AE0 setup with the correct 19 to 20 V supply, Ethernet, private interface, Aleo pool, accepted-proof checks and official firmware controls.

Join the ASIC Mining Discussion
Members can read and join the discussion
Log in to read comments from other miners. Create a free account if you would like to ask a question or share your experience.
Membership helps us protect the discussion from spam and keep answers useful.