

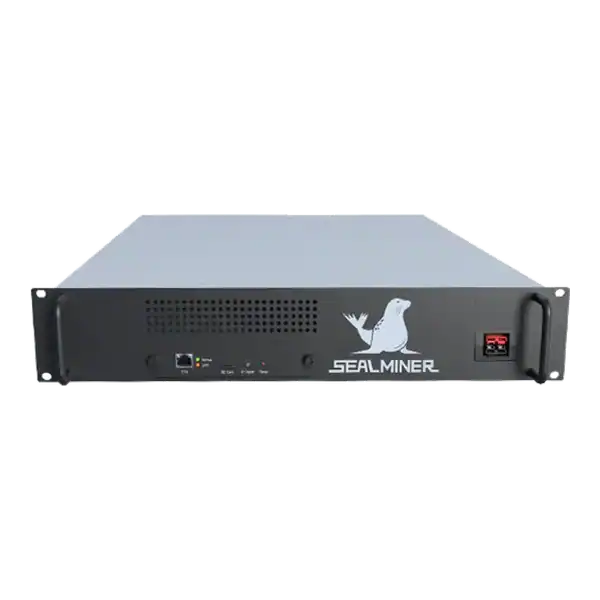
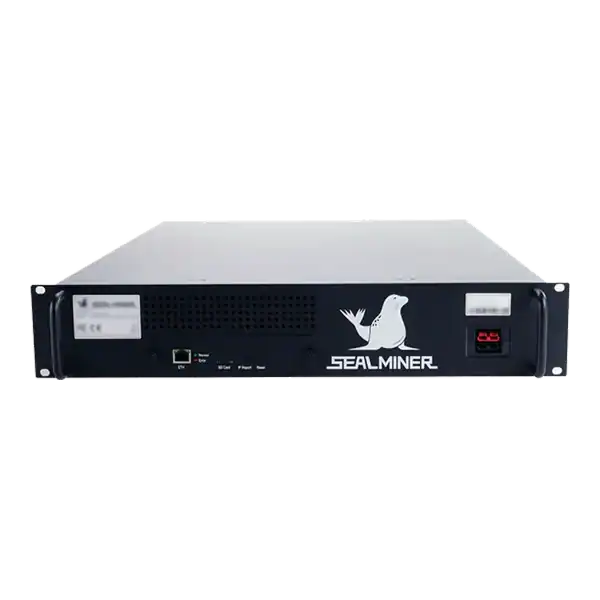
Sealminer DL1 Hydro
Litecoin & Dogecoin ASIC Miner
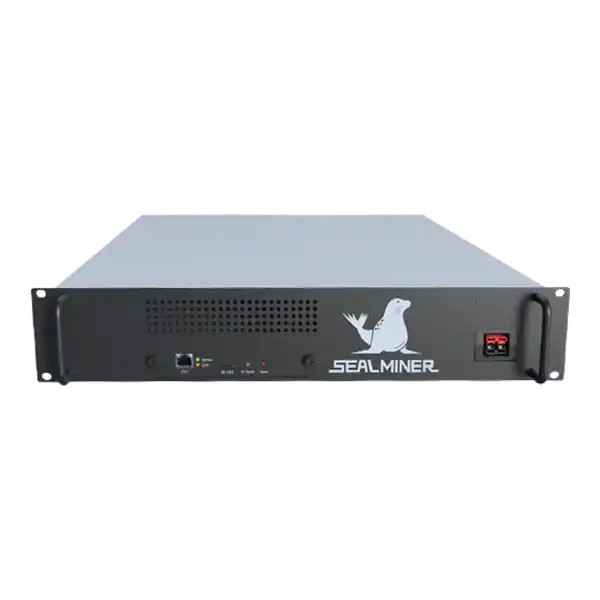

52.5GH
HASHRATE
149W/GH
EFFICIENCY
7823W
POWER
£773.15
EST. MONTHLY
NO PAYBACK
EST. ROI
Complete an Antminer S21 Pro setup safely: verify power and airflow, find its IP address, secure the interface, configure pools and test accepted hashrate.
Antminer S21 Pro setup should proceed in a fixed order: verify the exact unit and electrical supply, establish airflow and network access, secure the management interface, enter tested pool details and then validate stable accepted hashrate. This guide covers the commissioning evidence to retain before placing the miner into normal service.
A reliable Antminer S21 Pro setup is an evidence-led commissioning process. Identify the exact unit, approve the continuous electrical load and airflow, secure the network interface, enter verified pool details and wait for stable accepted hashrate.
A miner is checking Antminer S21 Pro setup. If the physical, electrical or pool destination evidence is wrong, stop rather than forcing the miner into service.
Antminer S21 Pro setup begins with identification. Record the model, rated hashrate variant, serial number, power specification, control-board details and visible shipping condition. Photograph connectors and labels without publishing serials or network credentials. Compare the delivered unit with the order and current Bitmain documentation rather than assuming every S21 Pro has identical regional accessories.
Bitmain’s published North American certification document for the S21 Pro lists 220 to 277 V AC, 50 or 60 Hz, a rated current of 20 A, protection class I and a maximum ambient temperature of 45°C for the certified configuration. That is useful evidence of a substantial continuous load, not a UK installation instruction.
The exact rating plate and supplied product documentation govern the delivered unit.
Check for impact damage, loose parts, bent fan guards, moisture, damaged cables or contamination. Do not energise a questionable machine merely to see whether it works. Resolve damage and delivery-risk evidence first, because powering it can obscure the original condition or worsen a fault.

A competent electrician should confirm that the supply, protective device, cable, connection, earthing and isolator suit the continuous load and environment. HSE guidance says equipment must be suitable for its supply and the supply must be able to deliver the current required. Do not use extension leads, travel adapters or a shared socket simply because the connector can be made to fit.
Provide a straight intake and exhaust path. Keep the hot outlet away from the inlet and remove packaging, dust or storage items from both sides. Plan where the heat and noise go before start-up. Measure inlet temperature rather than relying on a room thermostat positioned elsewhere. Do not build a sound enclosure that restricts the automatic fan system.
Use wired Ethernet on a controlled management network. The miner should receive an address from a known DHCP service during discovery. Keep the management interface inaccessible from the public internet, restrict administrative access and retain a method to identify the physical unit from its switch port, MAC address and serial record.
Connect Ethernet before power unless the current manual directs otherwise, then energise the miner using the approved procedure. Allow the controller to boot. Find its address from the router or DHCP lease table, an approved discovery tool or the device-identification method documented by Bitmain. Do not install an unknown scanner from an unofficial download site.
Open the address from a computer on the same trusted network. Confirm that the displayed model, firmware and identifiers match the physical record. Change default administrative credentials immediately and store them in an approved password manager. Disable unused remote access and do not forward the web interface through the router.
Record the current firmware version before considering an update. New does not always mean an immediate reflash is required. If an update is justified, download the exact S21 Pro image from Bitmain, verify the file and instructions, preserve pool and network settings as intended and keep stable power throughout the operation. Never interrupt a firmware write because the page appears slow.
get current stratum endpoints directly from the chosen pool. Verify account, payout destination, reward method, fee, regional server and worker-name format separately. A copied example may be obsolete or point to somebody else’s account. Test account security and withdrawal controls before directing material hashrate.
| Priority | Purpose | Record before saving | Validation |
|---|---|---|---|
| Pool 1 | Primary regional endpoint | Exact URL, port and worker | Alive and accepting shares |
| Pool 2 | Independent failover | Different endpoint or route | Test by controlled primary outage |
| Pool 3 | Final contingency | Approved account and destination | Confirm no unintended wallet |
| Password field | Pool-specific value | Follow current pool instructions | Do not reuse admin password |
Bitmain’s 19-series interface guidance describes server settings for mining pools and workers and supports dynamic or static IP configuration. Enter all fields carefully, save, and expect the miner to reconnect or restart hashing. Watch the pool status rather than repeatedly pressing save. A typographical error, space or blocked port can leave every endpoint dead.
The first local hashrate is not an acceptance test. Bitmain notes that a miner takes time to reach stable operation. Allow at least the documented stabilisation period, then record elapsed time, average and real-time hashrate, board and chip status, fan speeds, inlet and chip temperatures, hardware errors, pool state, accepted shares and rejected or stale work.
Compare local average hashrate with the pool-side accepted average over a suitable window. Pool-side figures take longer to settle because they estimate work from shares. Investigate missing boards, repeating restarts, high reject rates or abnormal temperature before continuing. Do not hide a fault by overclocking or frequent rebooting.
Measure wall power with suitable equipment and calculate J/TH from measured watts divided by sustained TH/s. Compare the result with the delivered specification and its tolerance under the measured conditions. Keep the commissioning record, logs, firmware version and photographs with the purchase and warranty documents.
The installation is ready when power and airflow remain stable, every expected board and chip is present, pool failover has been tested, accepted hashrate is within the agreed standard and account credentials are secure. Monitoring and alert ownership should also be assigned.
Move from commissioning to normal service only after the baseline has been saved. Later changes can then be compared with known-good evidence.
Stop if the supply or connector heats abnormally, the machine shows physical or moisture damage, airflow is blocked, boards disappear, temperatures rise uncontrollably or the pool destination is not the authorised account. Securely isolate power before physical inspection.
Do not keep cycling a faulty machine in the hope that it settles. Preserve logs and contact the supplier or repair route while warranty evidence remains clear.
Change one variable at a time after the baseline. Record who changed firmware, pool, network or operating profile and why. A disciplined setup makes both optimisation and diagnosis faster than an undocumented sequence of resets.
A reliable Antminer S21 Pro setup is an evidence-led commissioning process. Identify the exact unit, approve the continuous electrical load and airflow, secure the network interface, enter verified pool details and wait for stable accepted hashrate.
Antminer S21 Pro setup begins with identification. Record the model, rated hashrate variant, serial number, power specification, control-board details and visible shipping condition.
A competent electrician should confirm that the supply, protective device, cable, connection, earthing and isolator suit the continuous load and environment.
Connect Ethernet before power unless the current manual directs otherwise, then energise the miner using the approved procedure.
A reliable Antminer S21 Pro setup is an evidence-led commissioning process. Identify the exact unit, approve the continuous electrical load and airflow, secure the network interface, enter verified pool details and wait for stable accepted hashrate. Preserve wall power, temperature, firmware and account records before optimisation. If the physical, electrical or pool destination evidence is wrong, stop rather than forcing the miner into service.
Review current S21-series availability and the electrical safety guidance on The Mining Shop UK, or ask the team to assess a proposed site before commissioning.
Confirm the S21 Pro rating plate, circuit, connectors and airflow before applying power. Change management credentials, keep the interface off the public internet and configure three deliberate pool priorities.

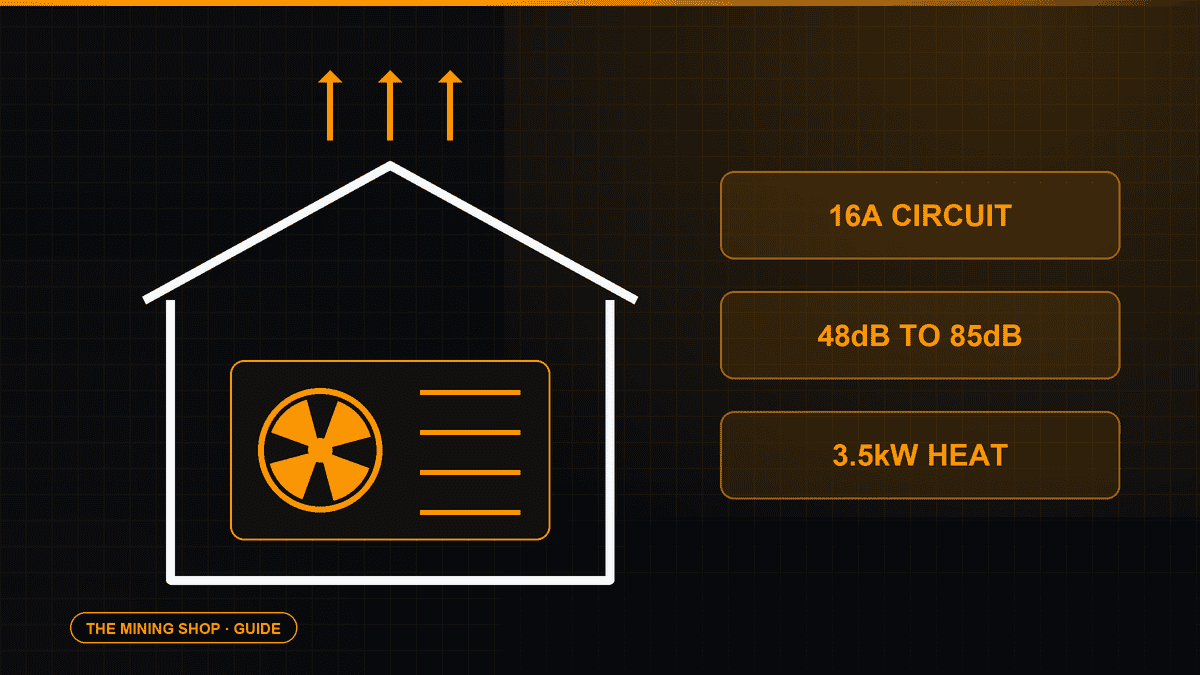
Home Bitcoin mining: A home ASIC needs a suitable dedicated circuit, competent electrical assessment and a safe route for continuous heat and noise.
ASIC fleet management software: Create an exact model-by-function matrix because reading telemetry, changing pools, tuning and updating firmware can have.
Complete an IceRiver AE0 setup with the correct 19 to 20 V supply, Ethernet, private interface, Aleo pool, accepted-proof checks and official firmware controls.
Join the ASIC Mining Discussion
Members can read and join the discussion
Log in to read comments from other miners. Create a free account if you would like to ask a question or share your experience.
Membership helps us protect the discussion from spam and keep answers useful.